Publishing to JFrog Artifactory With Gradle

We as a software developer often needs to upload our artefacts to be used later. Here we will go step by step on how we can upload a library or jar to jfrog repositiry.
Setup
First of all we need a gradle project in order build our artefacts. You can either goto Spring starter, if you are create spring boot project or
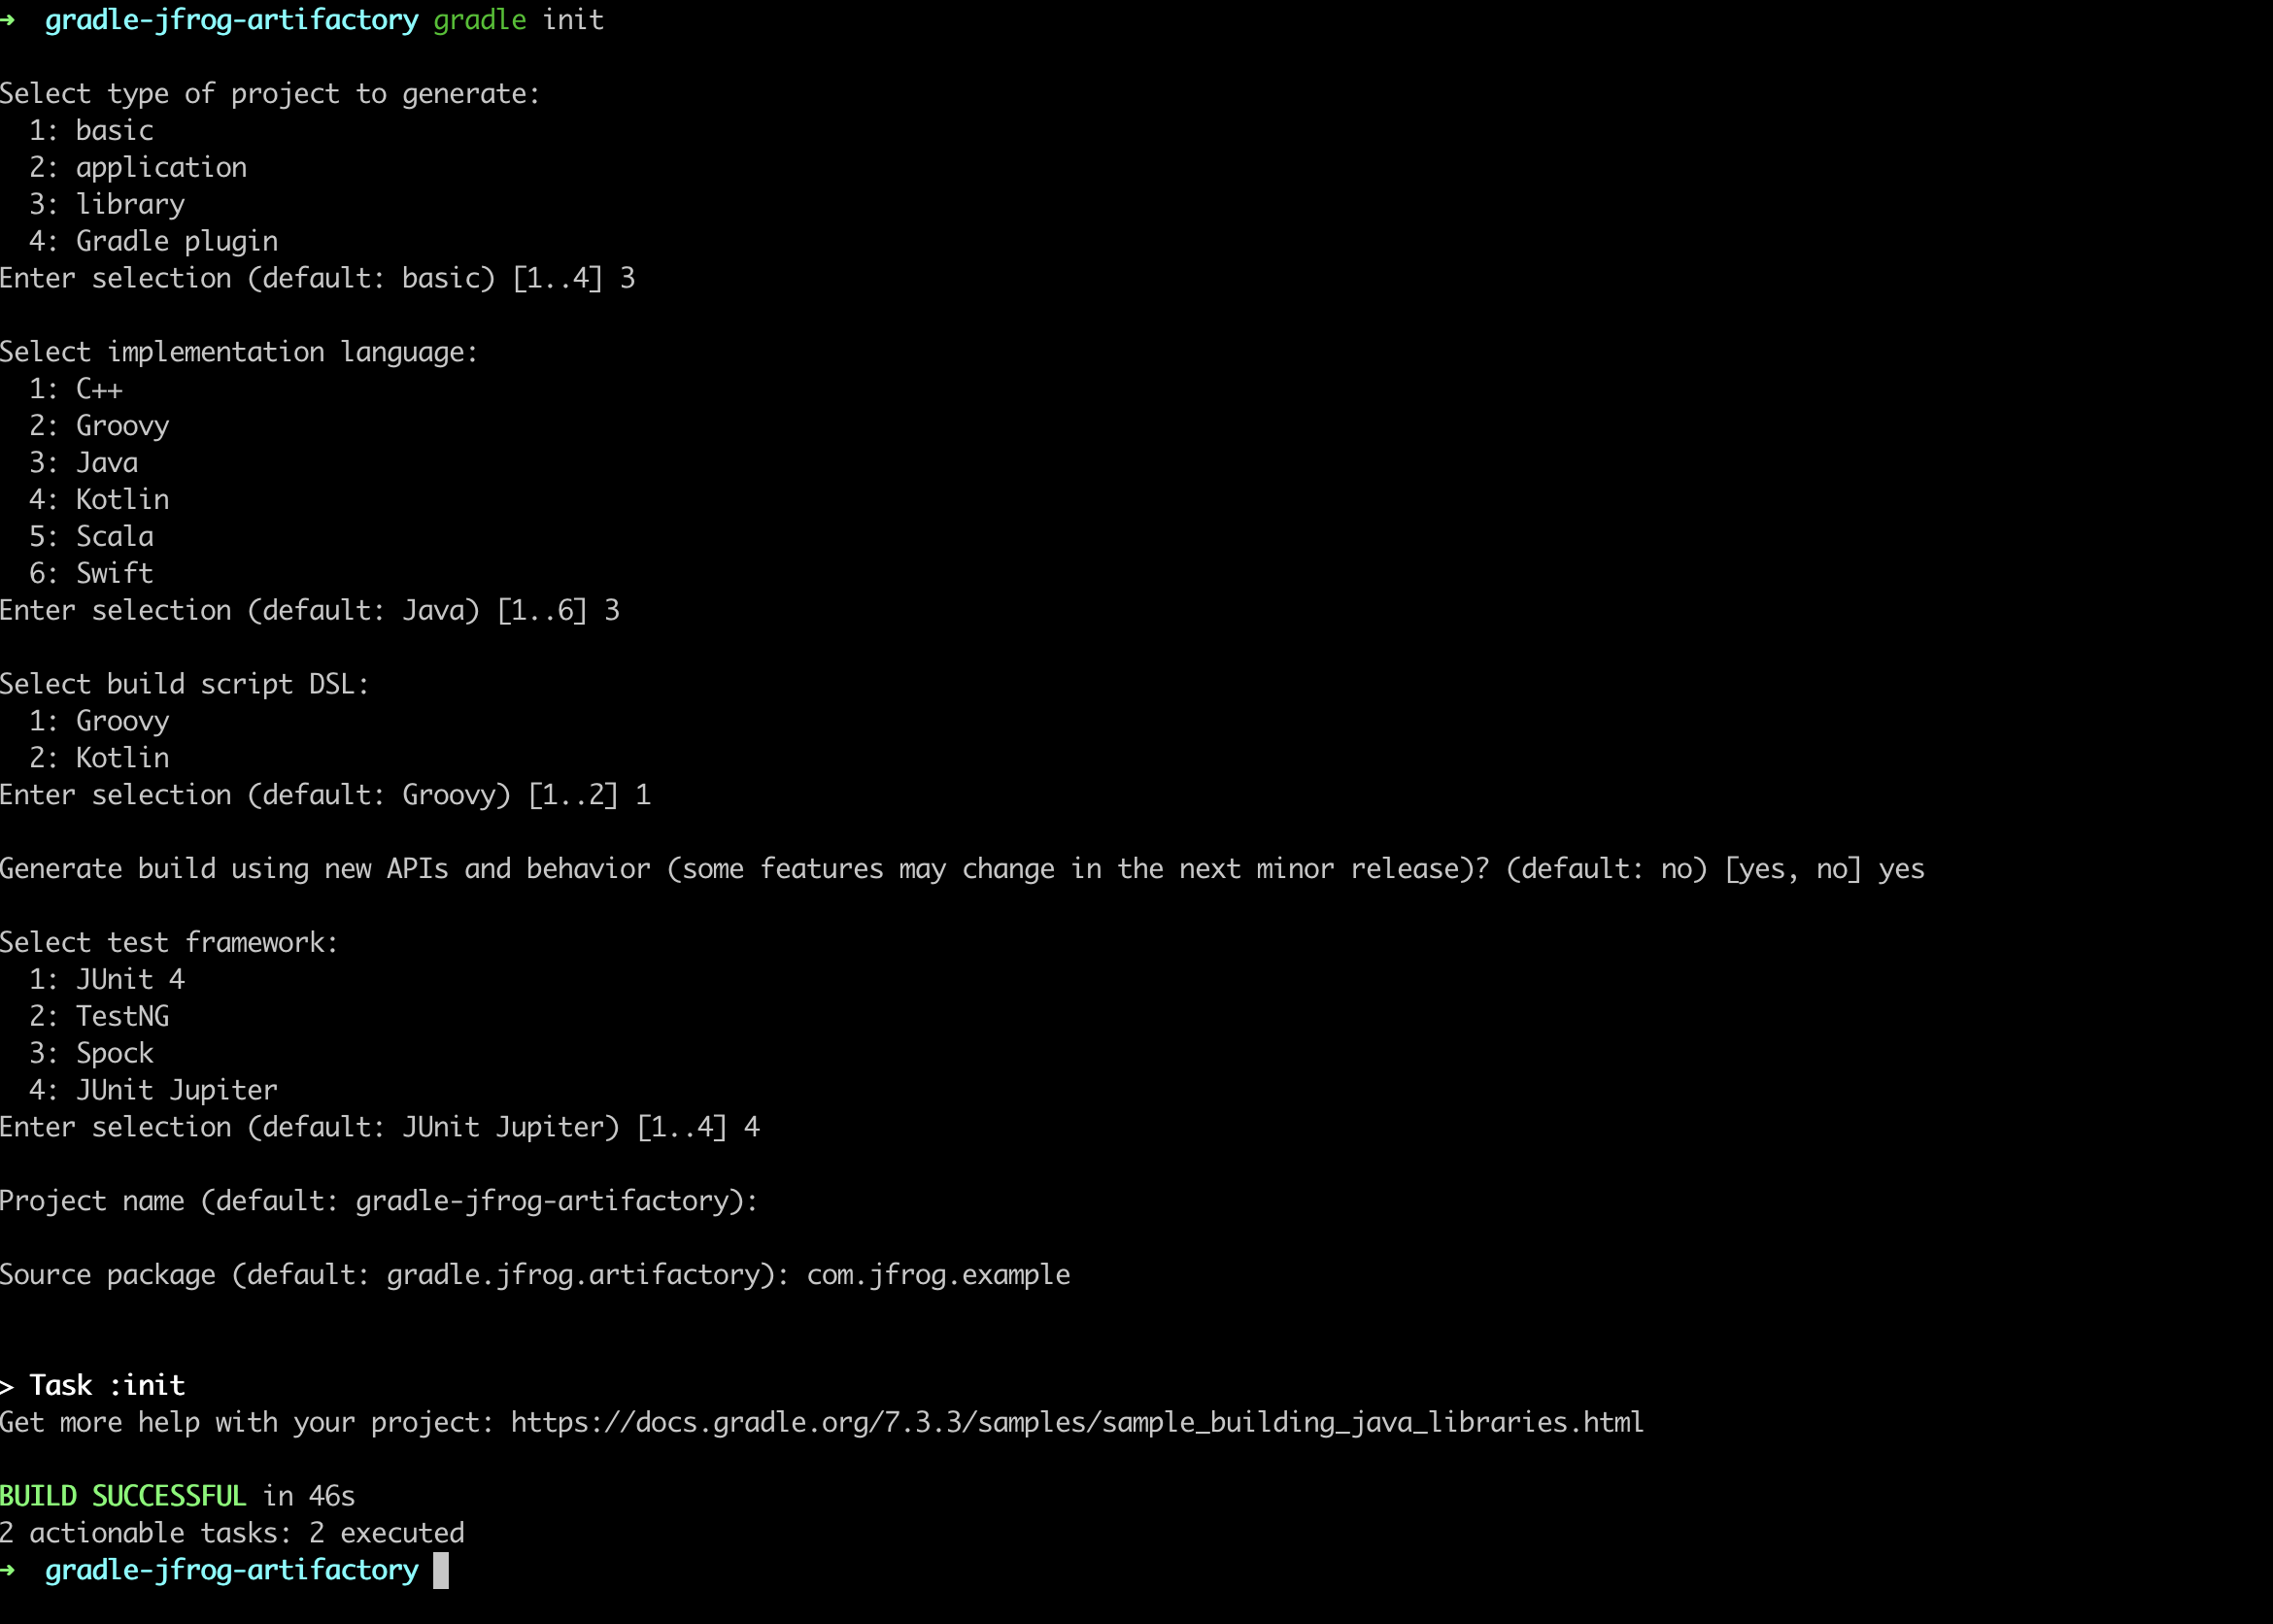
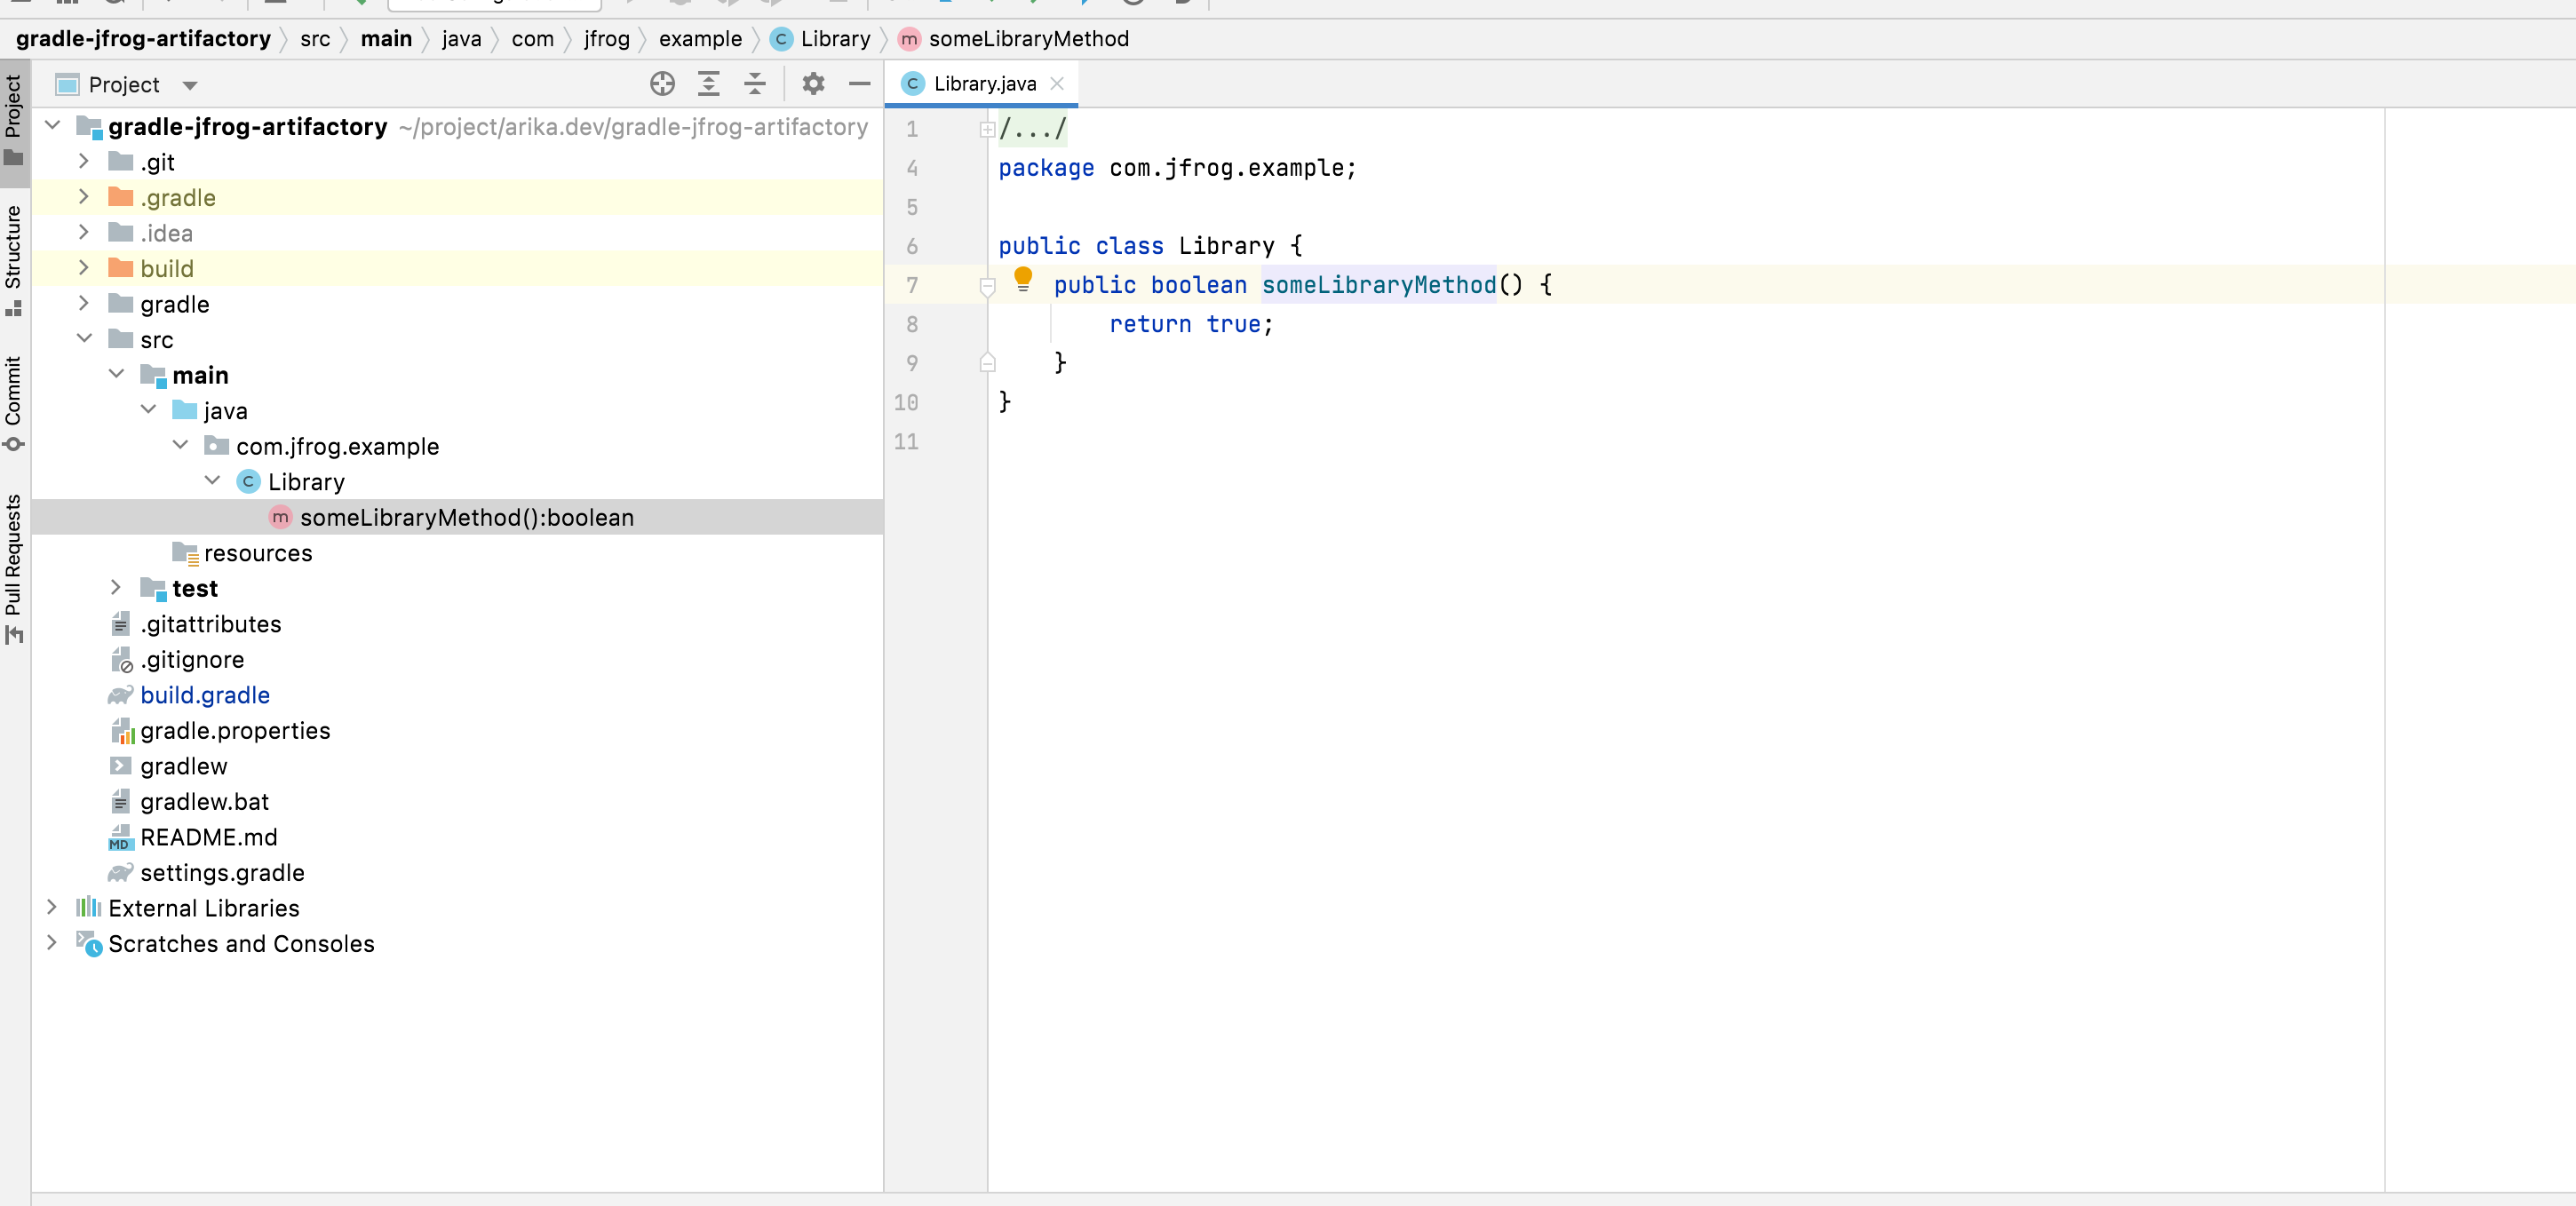
also create gradle project using gradle cli. Here I am using the gradle CLI eaxmple to create a gradle library project.
You can refer the below screenshot to generate the gradle project :

You just need to use gradle init and options will follow.
Note: make sure you have gradle install. if not , you can also manually create the project and gradle files

Gradle script
Now we want to publish our JAR artefact generated using ./gradlew build. For this we need to make some changes to our build.gradle and gradle.properties.
 1
 2plugins {
 3    // Apply the java-library plugin for API and implementation separation.
 4    id 'java-library'
 5    id 'maven-publish'
 6    id 'com.jfrog.artifactory' version "4.26.2"
 7}
 8
 9version = '1.0.0-SNAPSHOT'
10group = 'com.arika.dev'
11
12repositories {
13    // Use Maven Central for resolving dependencies.
14    mavenCentral()
15}
16
17dependencies {
18    // This dependency is exported to consumers, that is to say found on their compile classpath.
19    api 'org.apache.commons:commons-math3:3.6.1'
20
21    // This dependency is used internally, and not exposed to consumers on their own compile classpath.
22    implementation 'com.google.guava:guava:30.1.1-jre'
23}
24
25artifactory {
26    contextUrl = "${artifactory_contextUrl}"
27    publish {
28        repository {
29            repoKey = 'example-repo-local'
30            username = "${artifactory_user}"
31            password = "${artifactory_password}"
32            maven = true
33
34        }
35        defaults {
36            publications('mavenJava')
37        }
38    }
39}
40
41publishing {
42    publications {
43        mavenJava(MavenPublication) {
44            from components.java
45        }
46    }
47}
48
49testing {
50    suites {
51        // Configure the built-in test suite
52        test {
53            // Use JUnit Jupiter test framework
54            useJUnitJupiter('5.7.2')
55        }
56    }
57}
58
59
First , we need to add plugins which will allow us to publish artefacts :
1id 'maven-publish'
2id 'com.jfrog.artifactory' version "4.26.2"
And then the task details :
 1artifactory {
 2    contextUrl = "${artifactory_contextUrl}"
 3    publish {
 4        repository {
 5            repoKey = 'example-repo-local'
 6            username = "${artifactory_user}"
 7            password = "${artifactory_password}"
 8            maven = true
 9
10        }
11        defaults {
12            publications('mavenJava')
13        }
14    }
15}
16
17publishing {
18    publications {
19        mavenJava(MavenPublication) {
20            from components.java
21        }
22    }
23}
In the build.gradle we are using some variables , we can define the same in gradle.properties file.
1artifactory_user=admin
2artifactory_password=Jfrog123
3artifactory_contextUrl=http://localhost:8081/artifactory
That's it. We are done. Now lets see how we can publish the artefcats in next section.
Publish
In order to publish the artefacts, we can make use of below gradle commands :
./gradle build command to genrate the artefacts. and the use ./gradlew artifactoryPublish which in turn will publish the artefacts. below is the out I get on my system
when i execute ./gradlew artifactoryPublish
 1gradle-jfrog-artifactory git:(master) ✗ ./gradlew build artifactoryPublish
 2[pool-4-thread-1] Deploying artifact: http://localhost:8081/artifactory/example-repo-local/com/arika/dev/gradle-jfrog-artifactory/1.0.0-SNAPSHOT/gradle-jfrog-artifactory-1.0.0-SNAPSHOT.jar
 3[pool-4-thread-1] Deploying artifact: http://localhost:8081/artifactory/example-repo-local/com/arika/dev/gradle-jfrog-artifactory/1.0.0-SNAPSHOT/gradle-jfrog-artifactory-1.0.0-SNAPSHOT.module
 4[pool-4-thread-1] Deploying artifact: http://localhost:8081/artifactory/example-repo-local/com/arika/dev/gradle-jfrog-artifactory/1.0.0-SNAPSHOT/gradle-jfrog-artifactory-1.0.0-SNAPSHOT.pom
 5
 6> Task :artifactoryDeploy
 7Deploying build info...
 8Build-info successfully deployed. Browse it in Artifactory under http://localhost:8081/artifactory/webapp/builds/gradle-jfrog-artifactory/1644657835661
 9
10BUILD SUCCESSFUL in 1s
119 actionable tasks: 6 executed, 3 up-to-date
12
Verify
As you can see, I am using the local artifactory instance to test the artefact publishing. Local JFrog Artifactory instance can be spawned using
docker run --name artifactory2 -d -p 8081:8081 -p 8082:8082 docker.bintray.io/jfrog/artifactory-cpp-ce:latest gradle command.
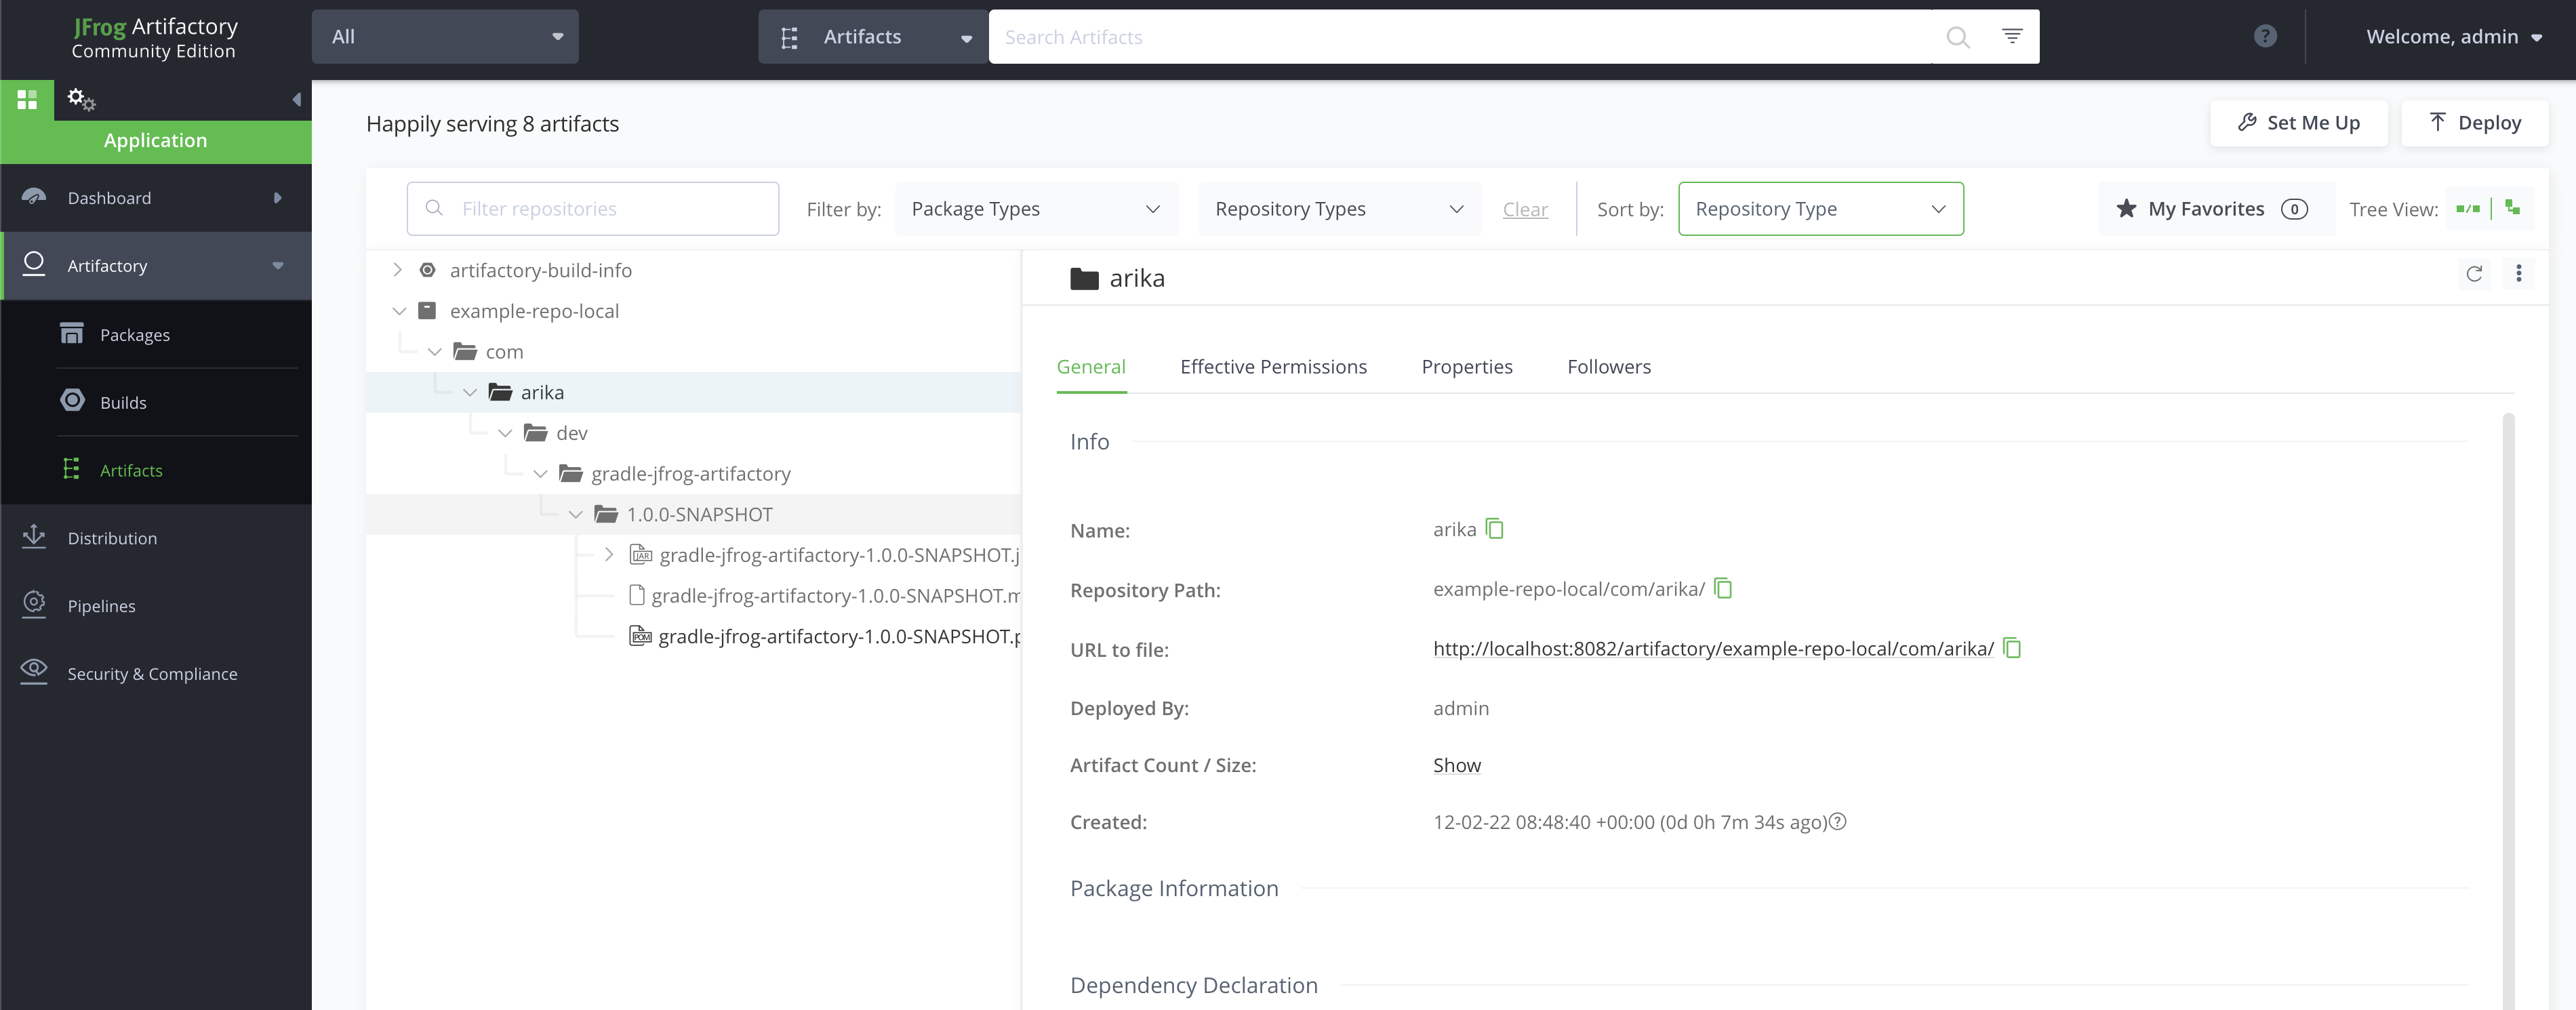
You can see the artefacts getting published in below screenshot :

How to use
You can use the above library in you gradle using below :
implementation 'com.arika.dev:gradle-jfrog-artifactory:1.0.0-SNAPSHOT'
here gradle-jfrog-artifactory is the name of library in this project. You can choose any name in you project.
Check complete code on github
You can check the complete code at GitHub.